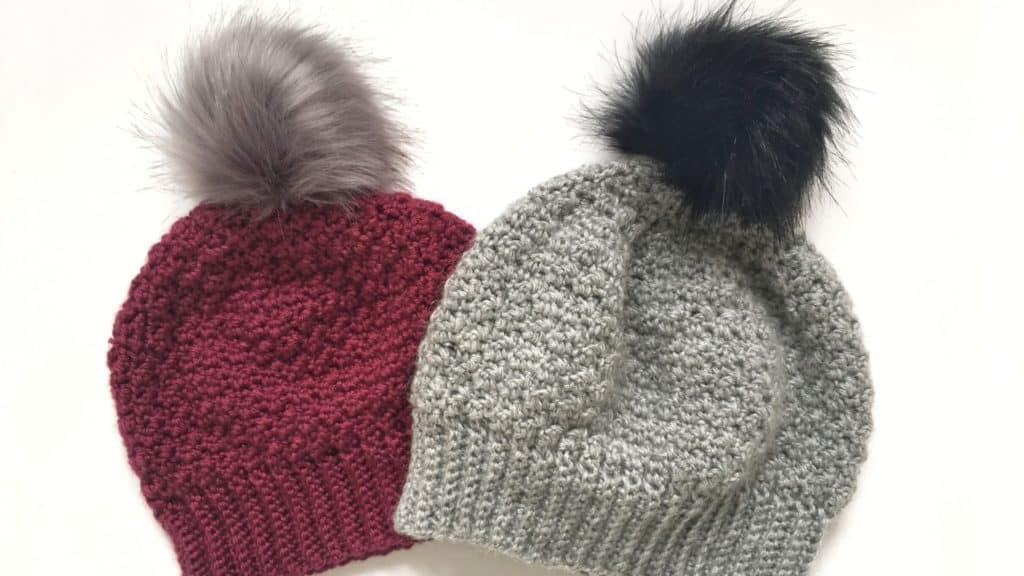
This crochet beanie pattern is part of a pattern bundle using the lemon peel stitch, one of my favourite stitches. I’ve put a crochet beanie, fingerless mittens and scarf bundle together all using this stitch.

It’s great for beginners as the texture is very forgiving, and will hide and little mistakes that happen when first making things to wear. The scarf is great practice though and a good one to start with!
You can find blog posts for the other patterns below.
The crochet beanie pattern is made to fit an adult female, with a ribbed brim and a very slight slouch.
You can find the ad free PDF version below.

You can get the bundle of three patterns here on Etsy to make a set and save!
This post may contain affiliate links. Find full disclosure here.
More Free Crochet Patterns
Crochet Beanie Pattern

You’ll need:
• <100g aran weight yarn (Yarn pictured is Paintbox Simply Aran)
• 4.5mm hook
• Scissors and needle for finishing
• Optional pom
Any aran weight yarn will work fine, though the yarn favoured by my testers and I was Paintbox Simply Aran if nothing else thanks to the number of beautiful shades!

Gauge & Measurements
Ribbing: 2-2.5” in height, 9 rows in 2” across
Finished hat should measure approx. 9” across and 8” tall when laid flat
Pattern Steps
Ribbing
Row 1 – CH13, turn back and work 1SC into the 2nd CH from the hook and in each CH until the end, finishing with a row of 12 SC.
Row 2 – CH1, work 1SC in the back loop of each stitch across (12)
Repeat Row 2 for a further 78 rows, totalling 80 rows of ribbed SC. Join both ends with slip stitches and turn the right way round before starting the next round.
Body
Row 1 – CH1. Starting with SC, alternate SC and DC in each row of ribbing. SS into the first SC (80)
Row 2 – CH3, turn, starting with an SC in the last DC from the previous row, continue alternating SC and DC in each stitch. You will be working an SC into a DC and a DC into an SC. SS into the CH3 (80)
Row 3 to 12 – Repeat row 2 (80)
Row 13 – CH3, turn, SC, DEC, continue alternating SC and DC in the next 19 stitches. DEC. Starting with DC, continue in the next 12. DEC. Repeat in the next 16. DEC. Repeat in the next 12. DEC. Repeat in the next 10 (75)
Row 14 – CH3, turn, alternate SC and DC for the rest of the row, ending with 1 DEC (74)
Row 15 – CH3, turn, alternate SC and DC in the next 10. DEC. Repeat in next 13. DEC. Repeat in next 14. DEC. Repeat in next 14. DEC. Repeat until the end (70)
Row 16 – CH3, turn, DEC. Alternate SC and DC in the next 10. DEC. Repeat in next 14. DEC. Repeat in next 14. DEC. Repeat in next 10. DEC. Repeat until the end (65)
Row 17 – CH3, turn, *alternate SC and DC in the next 6, DEC*. Repeat * around, finishing with SC then DC in the last 2. (58)
Row 18 – Repeat row 17, finishing with DC in the last stitch (50)
Row 19 – CH3, turn, *alternate SC and DC in the next 4, DEC*. Repeat * around, finishing on DEC (41)
Row 20 – Repeat row 19, finishing with DC in the last stitch instead of DEC (35)
Row 21 – CH3, turn, *alternate SC and DC in the next 3, DEC*. Repeat * around, finishing on DEC (28)
Row 22 – Repeat row 21, finishing on the SC / DC repeat without the last DEC (23)
Row 23 – Repeat row 21, finishing with SC DC in the last 2 stitches (18)
Row 24 – DEC around (9)
Row 25 – DEC x 3, SC 3 Together
Close up and attach your pom!
If you want to give this crochet beanie pattern a go at a later date, pin or add to your queue using the links below!


