
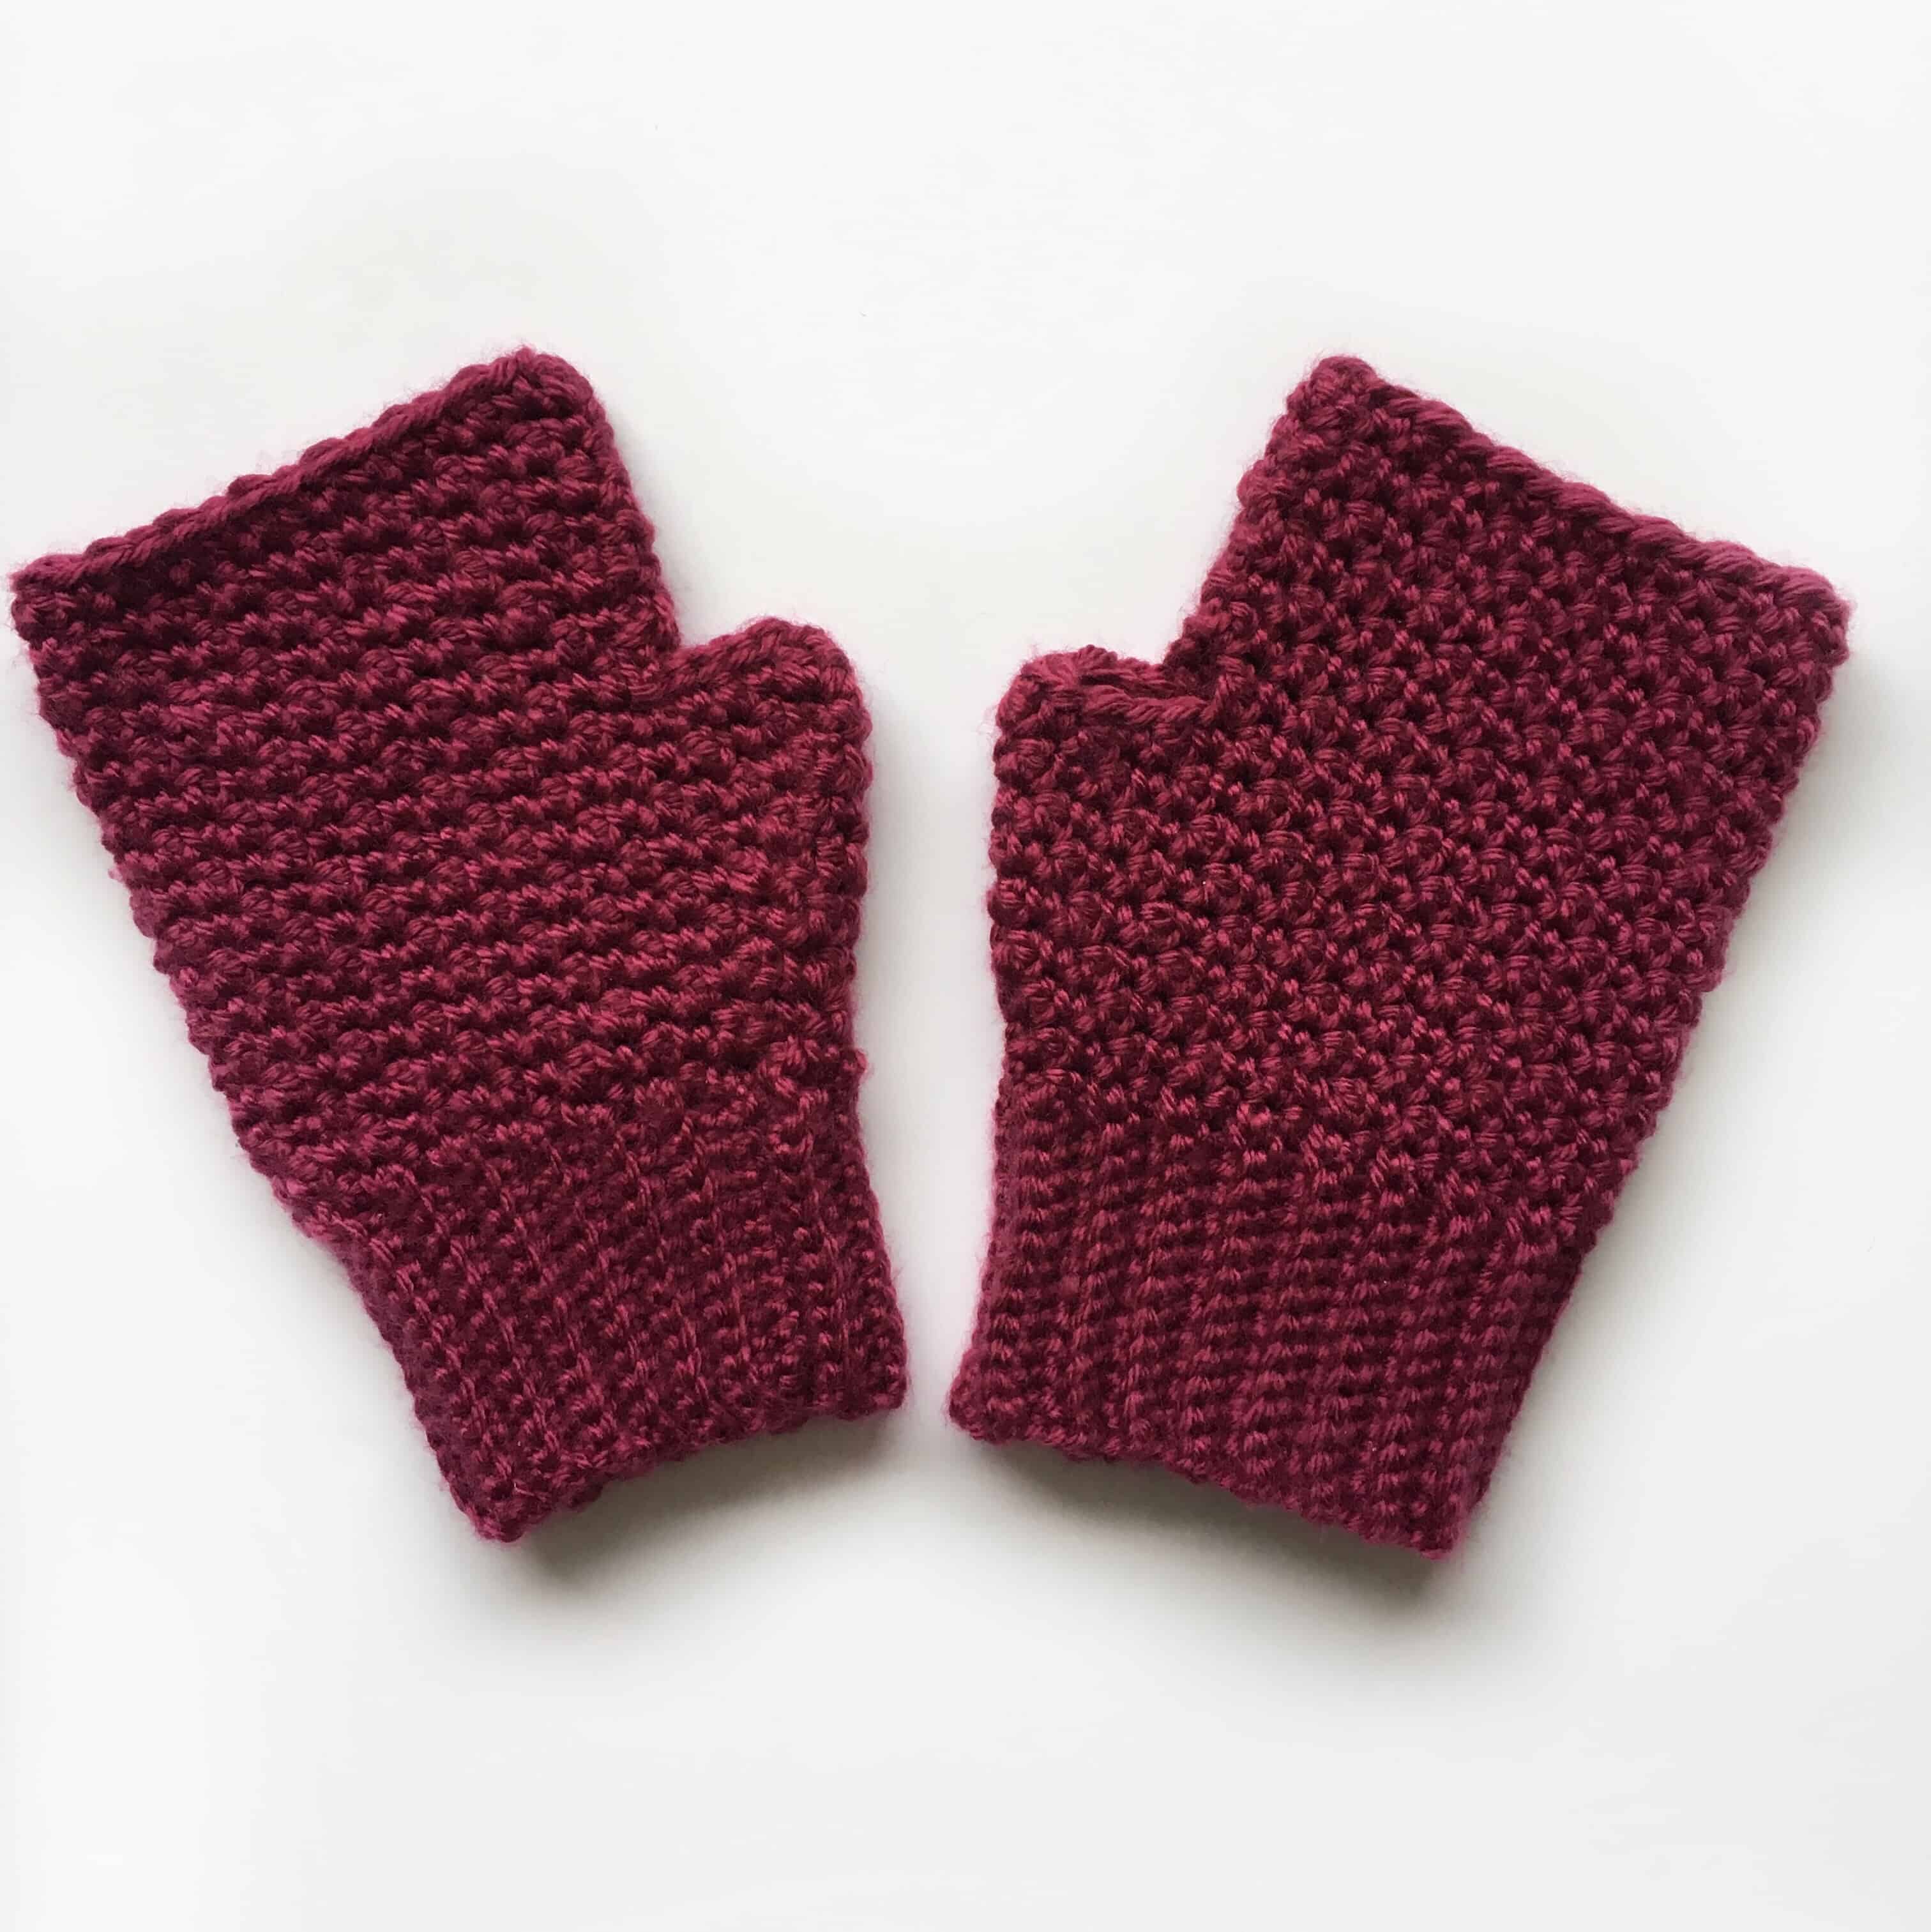
Read on for the free crochet fingerless mittens pattern in a lemon peel stitch, with coordinating crochet patterns below!
After Christmas and New Year were out of the way I had hoped/intended to move on a little from the winter projects and start to work on some spring and home related patterns, but it definitely feels like this cold weather isn’t going anywhere any time soon so here we are!
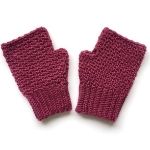
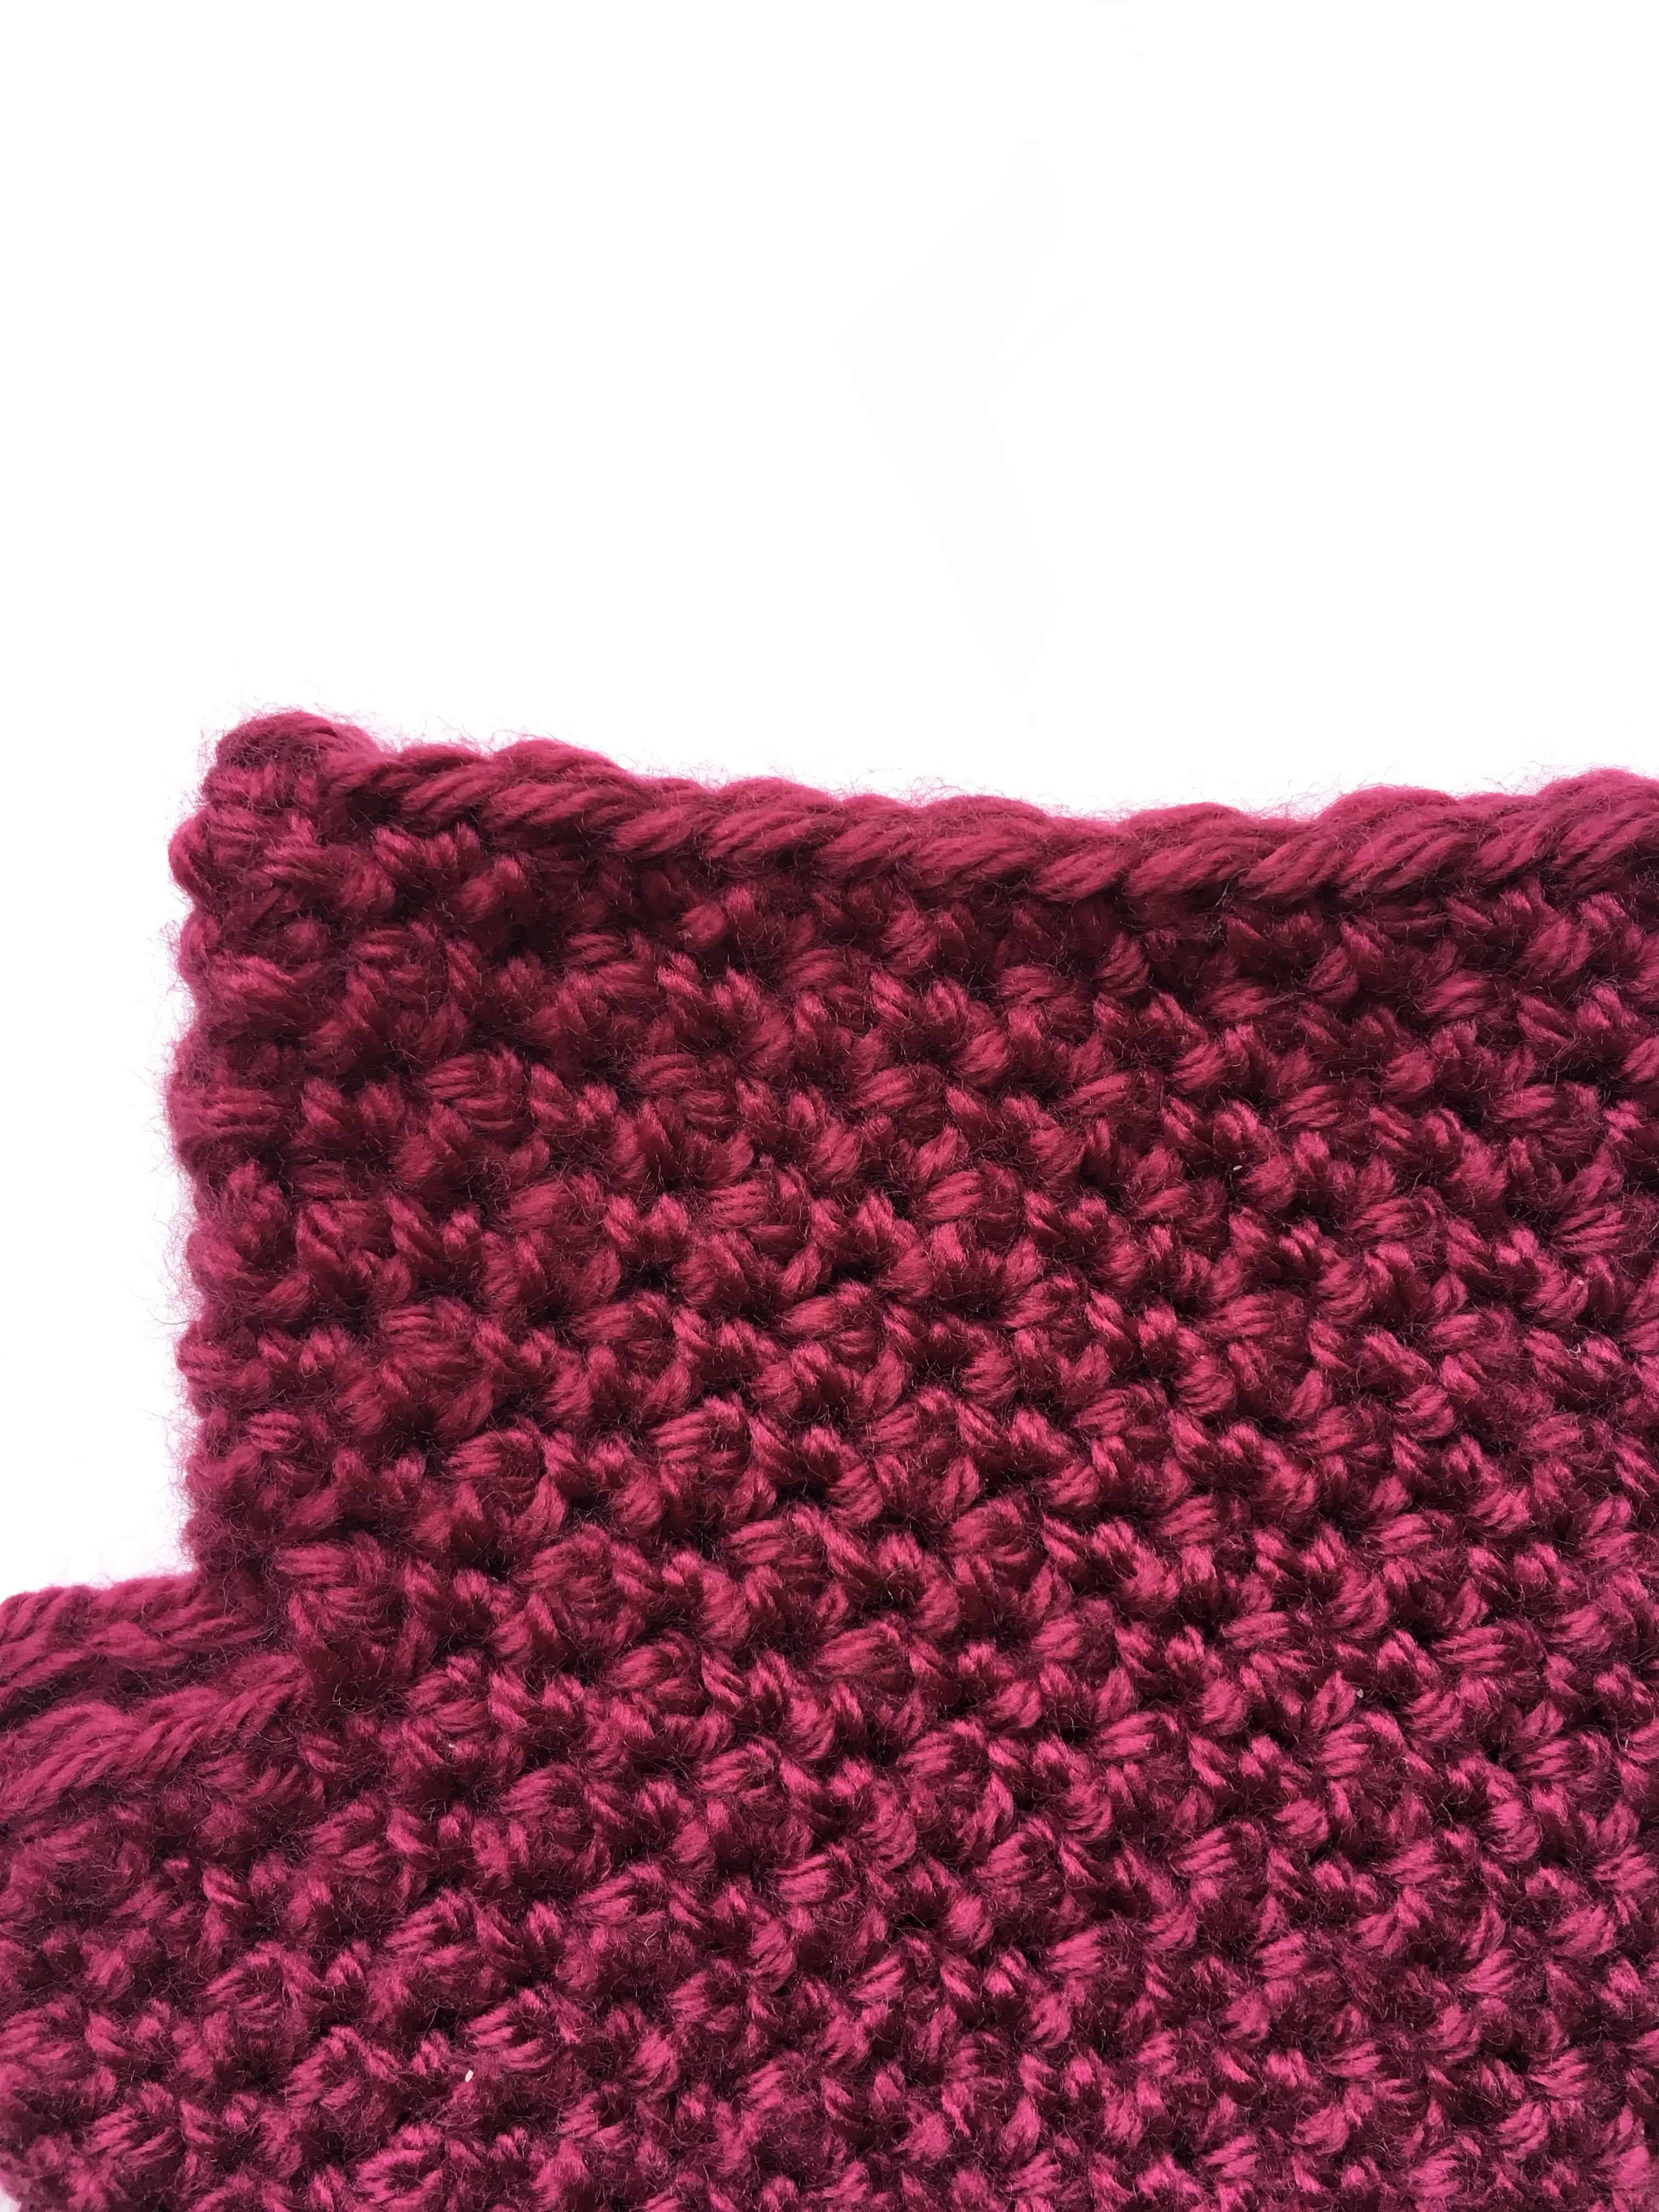
I made a couple of these after requests from family and kept some myself so decided to write up the pattern as it’s my favourite stitch!
You can download the ad-free PDF below.
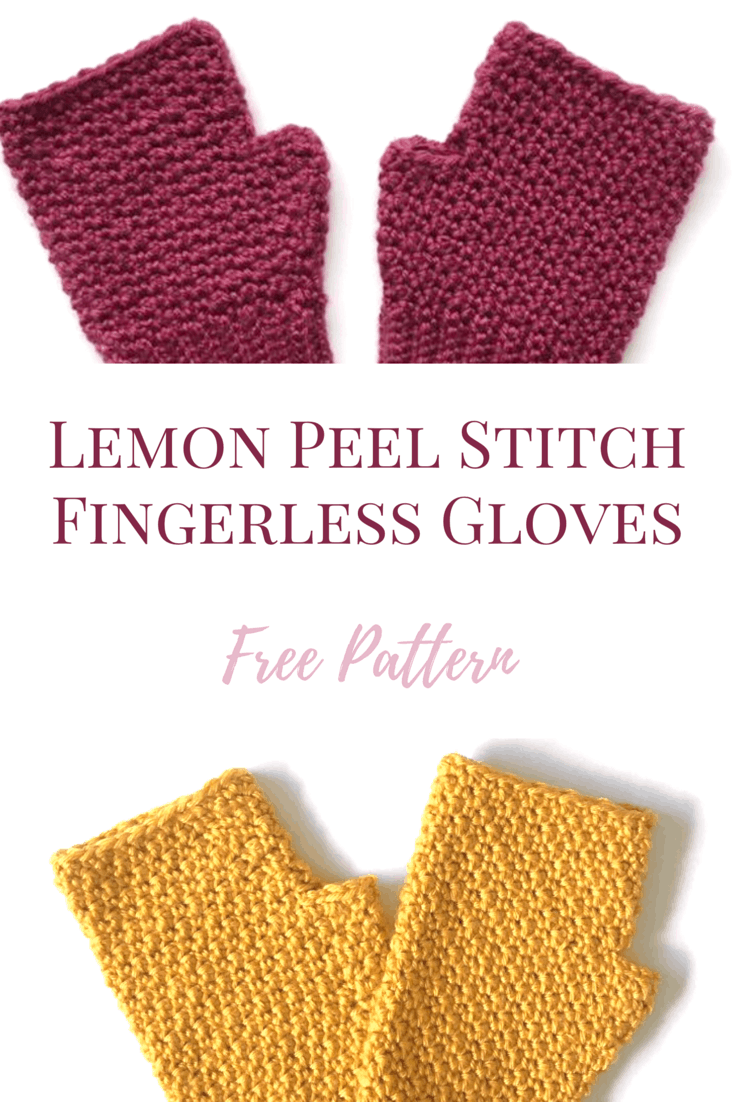
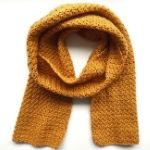
I’ve also put together a pattern bundle, where you can find the whole lemon peel set; scarf mittens and beanie hat!

This post may contain affiliate links. For full policy click here.
Paintbox Simply Aran is the perfect yarn for this project, available from LoveCrafts in so many beautiful colours! Otherwise any worsted / aran weight will do just fine.

It’s a great place to start if you’re a beginner to gloves or mittens as the textured stitch is very forgiving of mistakes or lumps and bumps.
More Free Crochet Patterns


Give it a try and let me know how you get on!
Free Crochet Mittens Pattern
Materials
• <100g of an aran or worsted weight yarn
• 4.5mm hook
• Scissors and needle for finishing
Abbreviations (US TERMS)
Single Crochet Back Loop Only (SCBL)
Single Crochet (SC)
Double Crochet (DC)
Slip Stitch (SS)
Chain (CH)
Stitch count is in brackets at the end of each round.
Finished glove should measure approx. 15cm/6in in length, 10cm/4in in width at the thumb and 8.5cm/9in in width at the fingers.
Lets start!
Cuff
1. CH13, SC in 2nd CH from hook. Continue working SC until the end of the chain (12)
2. CH2, SCBL in each SC until the end (12)
Repeat step 2 for a further 31 rows, totalling 33 rows of a ribbed SC. Join back to the starting chain by slip stitching into each of the 12 starting chains to form the cuff that will sit around your wrist. If you need to turn your work inside out to hide the seam, do so now.
We will continue working from here to start the next stage.
Hand
Row 1 – CH2 (this will never count as a stitch) and starting with SC, work a row of alternating DC and SC stitches around, ending up with an evenly spaced 32 stitches and finishing with a DC. SS to join (32)
Row 2 – CH2 and start with a DC. Follow with alternating SC and DC until the end of the row, finishing with SC. SS to join (32)
Row 3 – CH2, work 1DC and 1SC into the first stitch. Continue with alternating DC and SC, finishing with 1DC and 1SC in the last stitch. SS to join (34)
Row 4 – CH2, start with SC and alternate DC and SC, finishing with DC. SS (34)
Row 5 – CH2, 1SC and 1DC in first stitch, alternating SC and DC, finish with 1SC and 1DC in the last stitch. SS (36)
Row 6 – CH2, alternate DC and SC, SS (36)
Row 7 – CH2, 1DC and 1SC in first stitch, alternate SC and DC, 1 DC and 1 SC in last stitch, SS (38)
Row 8 – CH2, alternate SC and DC, SS (38)
Row 9 – CH2, alternate DC and SC, SS (38)
Row 10 – SS for 5 stitches, CH2 and alternate DC and SC for 29 stitches, SS across to the original CH2 of this row. The skipped stitches will form the space for the thumb (30)
Row 11 – CH2, alternate SC and DC, with the final DC falling in the slip stitch space worked in row 10 to form the thumb space (30)
Row 12 – CH2, alternate DC and SC, SS (30)
Rows 13 to Row 17 – repeat as per Row 12, maintaining a stitch count of 30 and switching the starting stitch between SC and DC every time.
SS to close and weave in ends. Repeat all steps for the 2nd hand!
I hope you give this a go, pin for later or add the PDF to your queues!
