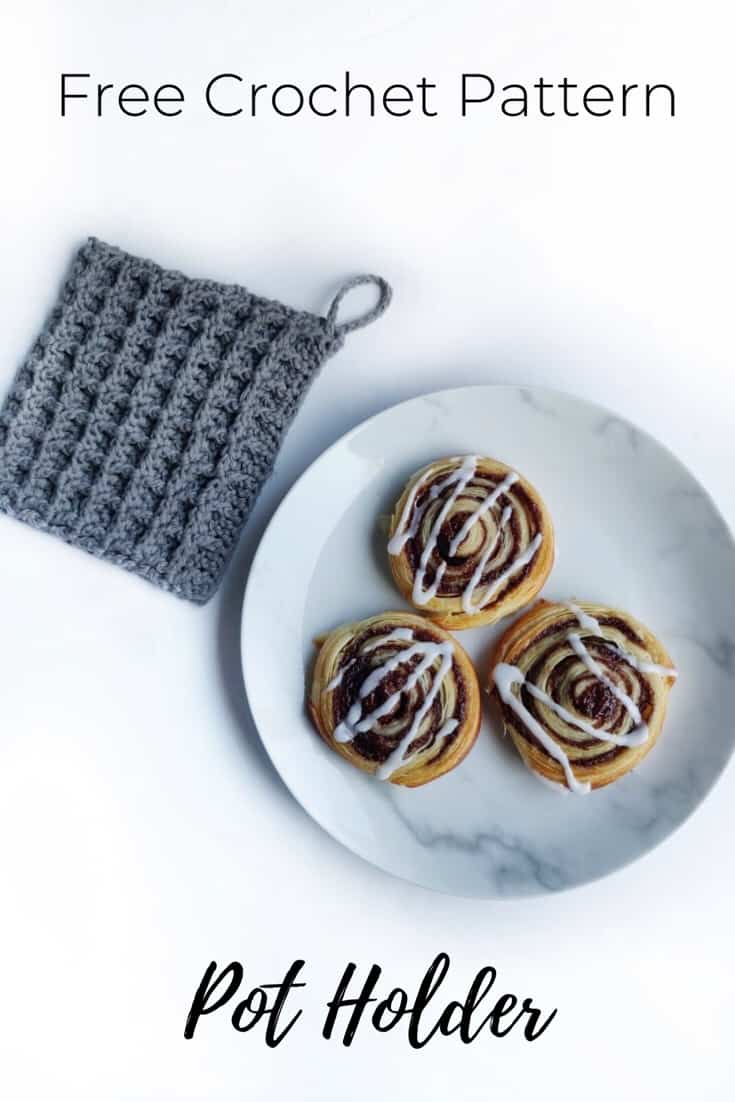
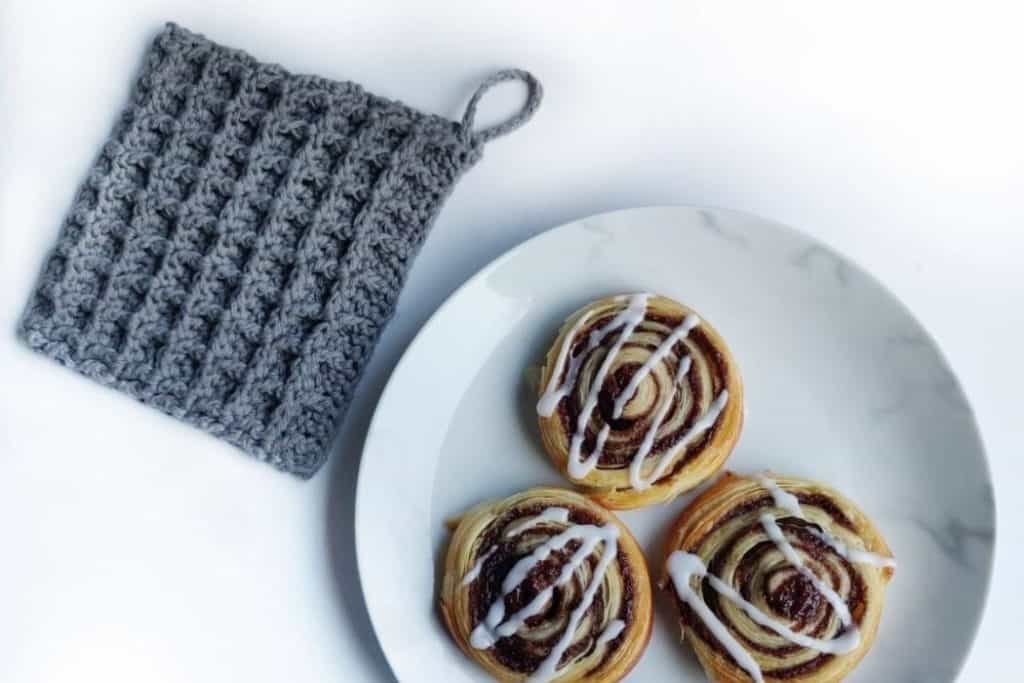
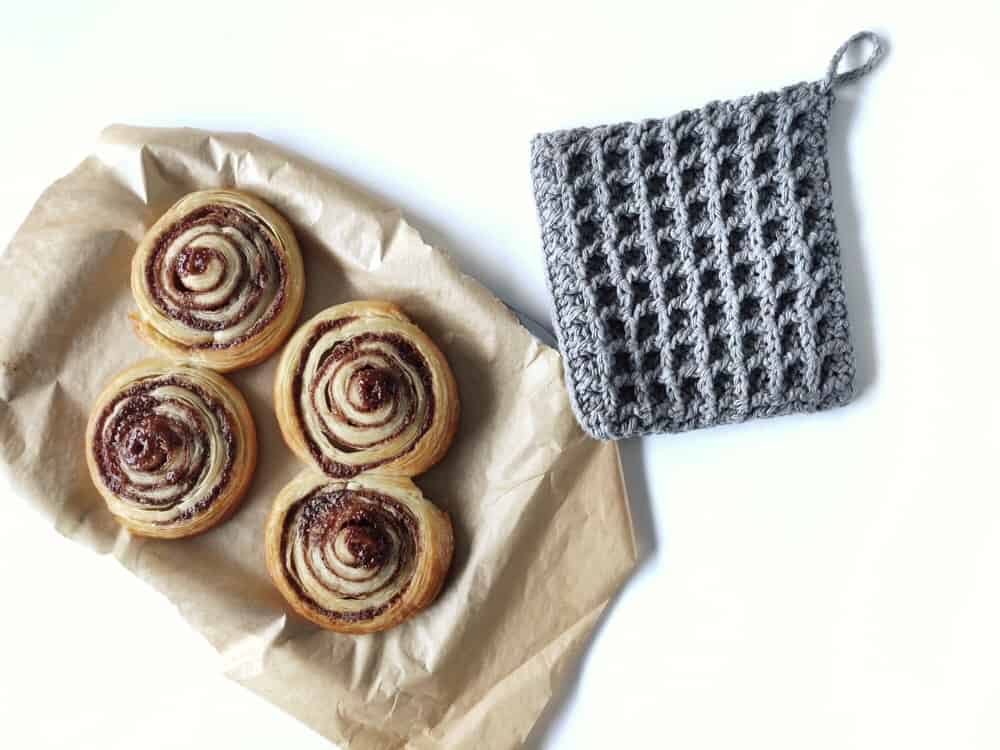
I’m into the home projects lately and loving them on Pinterest, so here’s an oven mitt crochet pattern for you guys. I was going to make a bigger one in one piece with a hand space at each end, but the truth is that I ran out of yarn! So I went with a smaller square for one hand, which I actually prefer now as it can be used for a hot pan handle too. I may or may not have used it to hold a tub of ice cream as well…
Taking pictures for this was the perfect excuse to bake, who doesn’t love a cinnamon swirl!
This post contains affiliate links. Find full disclosure here.
I used Lily Sugar n Cream cotton in Grey, it’s perfect for a piece like this that will be subject to heat and the wear and tear of being used in the kitchen. An acrylic yarn or something that would melt could be a disaster, so make sure to research your yarn properties if you’re not sure. What’s also great about the Sugar n Cream is that it’s quite thick for a cotton (worsted/aran), perfect for protecting your hands from hot surfaces – it’s whole purpose!
I also love the Paintbox cotton aran over at LoveCrafts, but this is a little lighter so make sure you have no gaps. It’s available in 56 shades!
You can find the ad free PDF version below.

More Free Crochet Patterns
Oven Mitt Crochet Pattern
Materials
1 skein Lily Sugar n Cream
5.0mm Crochet Hook
Needle and scissors for finishing

Stitches & Abbreviations (US terms)
Waffle Stitch (explained in the row instructions)
Double Crochet (DC) / Front post double crochet (FPDC)
Single Crochet (SC)
Chain (CH)
Pattern Steps
Row 1 – CH28, DC in the 2nd CH and each remaining stitch (27 DC total)
Row 2 – This is the start of the waffle stitch. CH1 and turn, 1 DC. 1 FPDC. *2 DC 1 FPDC* repeat 8 times. 1 FPDC. 1 DC. (27)

Row 3 – CH1 and turn. DC in next 2. *2 FPDC, 1 DC* repeat 8 times. 1 DC. (27)
Repeat rows 2 and 3, 6 more times.
Row 16 – CH1, SC in back loop only in each stitch. (27)
Row 17 – SC in each stitch. (27)
Repeat row 17, 25 times. This should be the point where you can fold the rectangle in half and make a square, if this means more or fewer rows of SC then no problem.
CH18 and SS into the starting CH to use as a loop for hanging. (Optional)
Stitch together the sides of your square, leaving a gap across the top for your hand!
Have a go at this oven mitt crochet pattern or pin for later!
