
Easter bunny crochet pattern – the cutest pattern of the year so far! It was actually a suggestion by my macho bearded fiance, cute ideas come in all forms!? This crochet bunting pattern of bunnies is an adorable home decor accessory pattern. One on it’s own would also be lovely on the front of a card or something too.
You can find the ad free PDFs below.

I’m trying to get ahead with seasonally inspired projects and patterns this year for once in my life, and what better place to start than cute little bunny butts! What’s your favourite spring thing to make? I love wreaths and flowers, I think bunting is so cute in spring particularly, and you can’t go wrong with egg patterns if you have kiddos. Egg covers and baskets are quick wins for little ones too!

More Free Crochet Patterns

Easter Bunny Crochet Pattern
Materials
- Approx 50g DK weight yarn
- Pom Poms for the tail
- Scissors and needle for finishing
Concentration level – Might be a little fiddly but achievable for crocheters of all experience.
Stitches used and abbreviations (USterms):
- Magic Ring
- Single Crochet (SC)
- Double Crochet (DC)
- Treble Crochet (TC)
- Slip Stitch (SC)
- Chain (CH)
Notes
- Stitch count will be in brackets at the end of each row where appropriate
- The pattern starts with the base body forming a circle of 4 rounds, then works upwards towards the ears
Steps
1 – Make a magic ring and work 6 SC into the ring. SS to close (6)


2 – CH1, work 2 SC into every stitch. SS (12)
3 – CH1, 2 SC in every stitch (24)
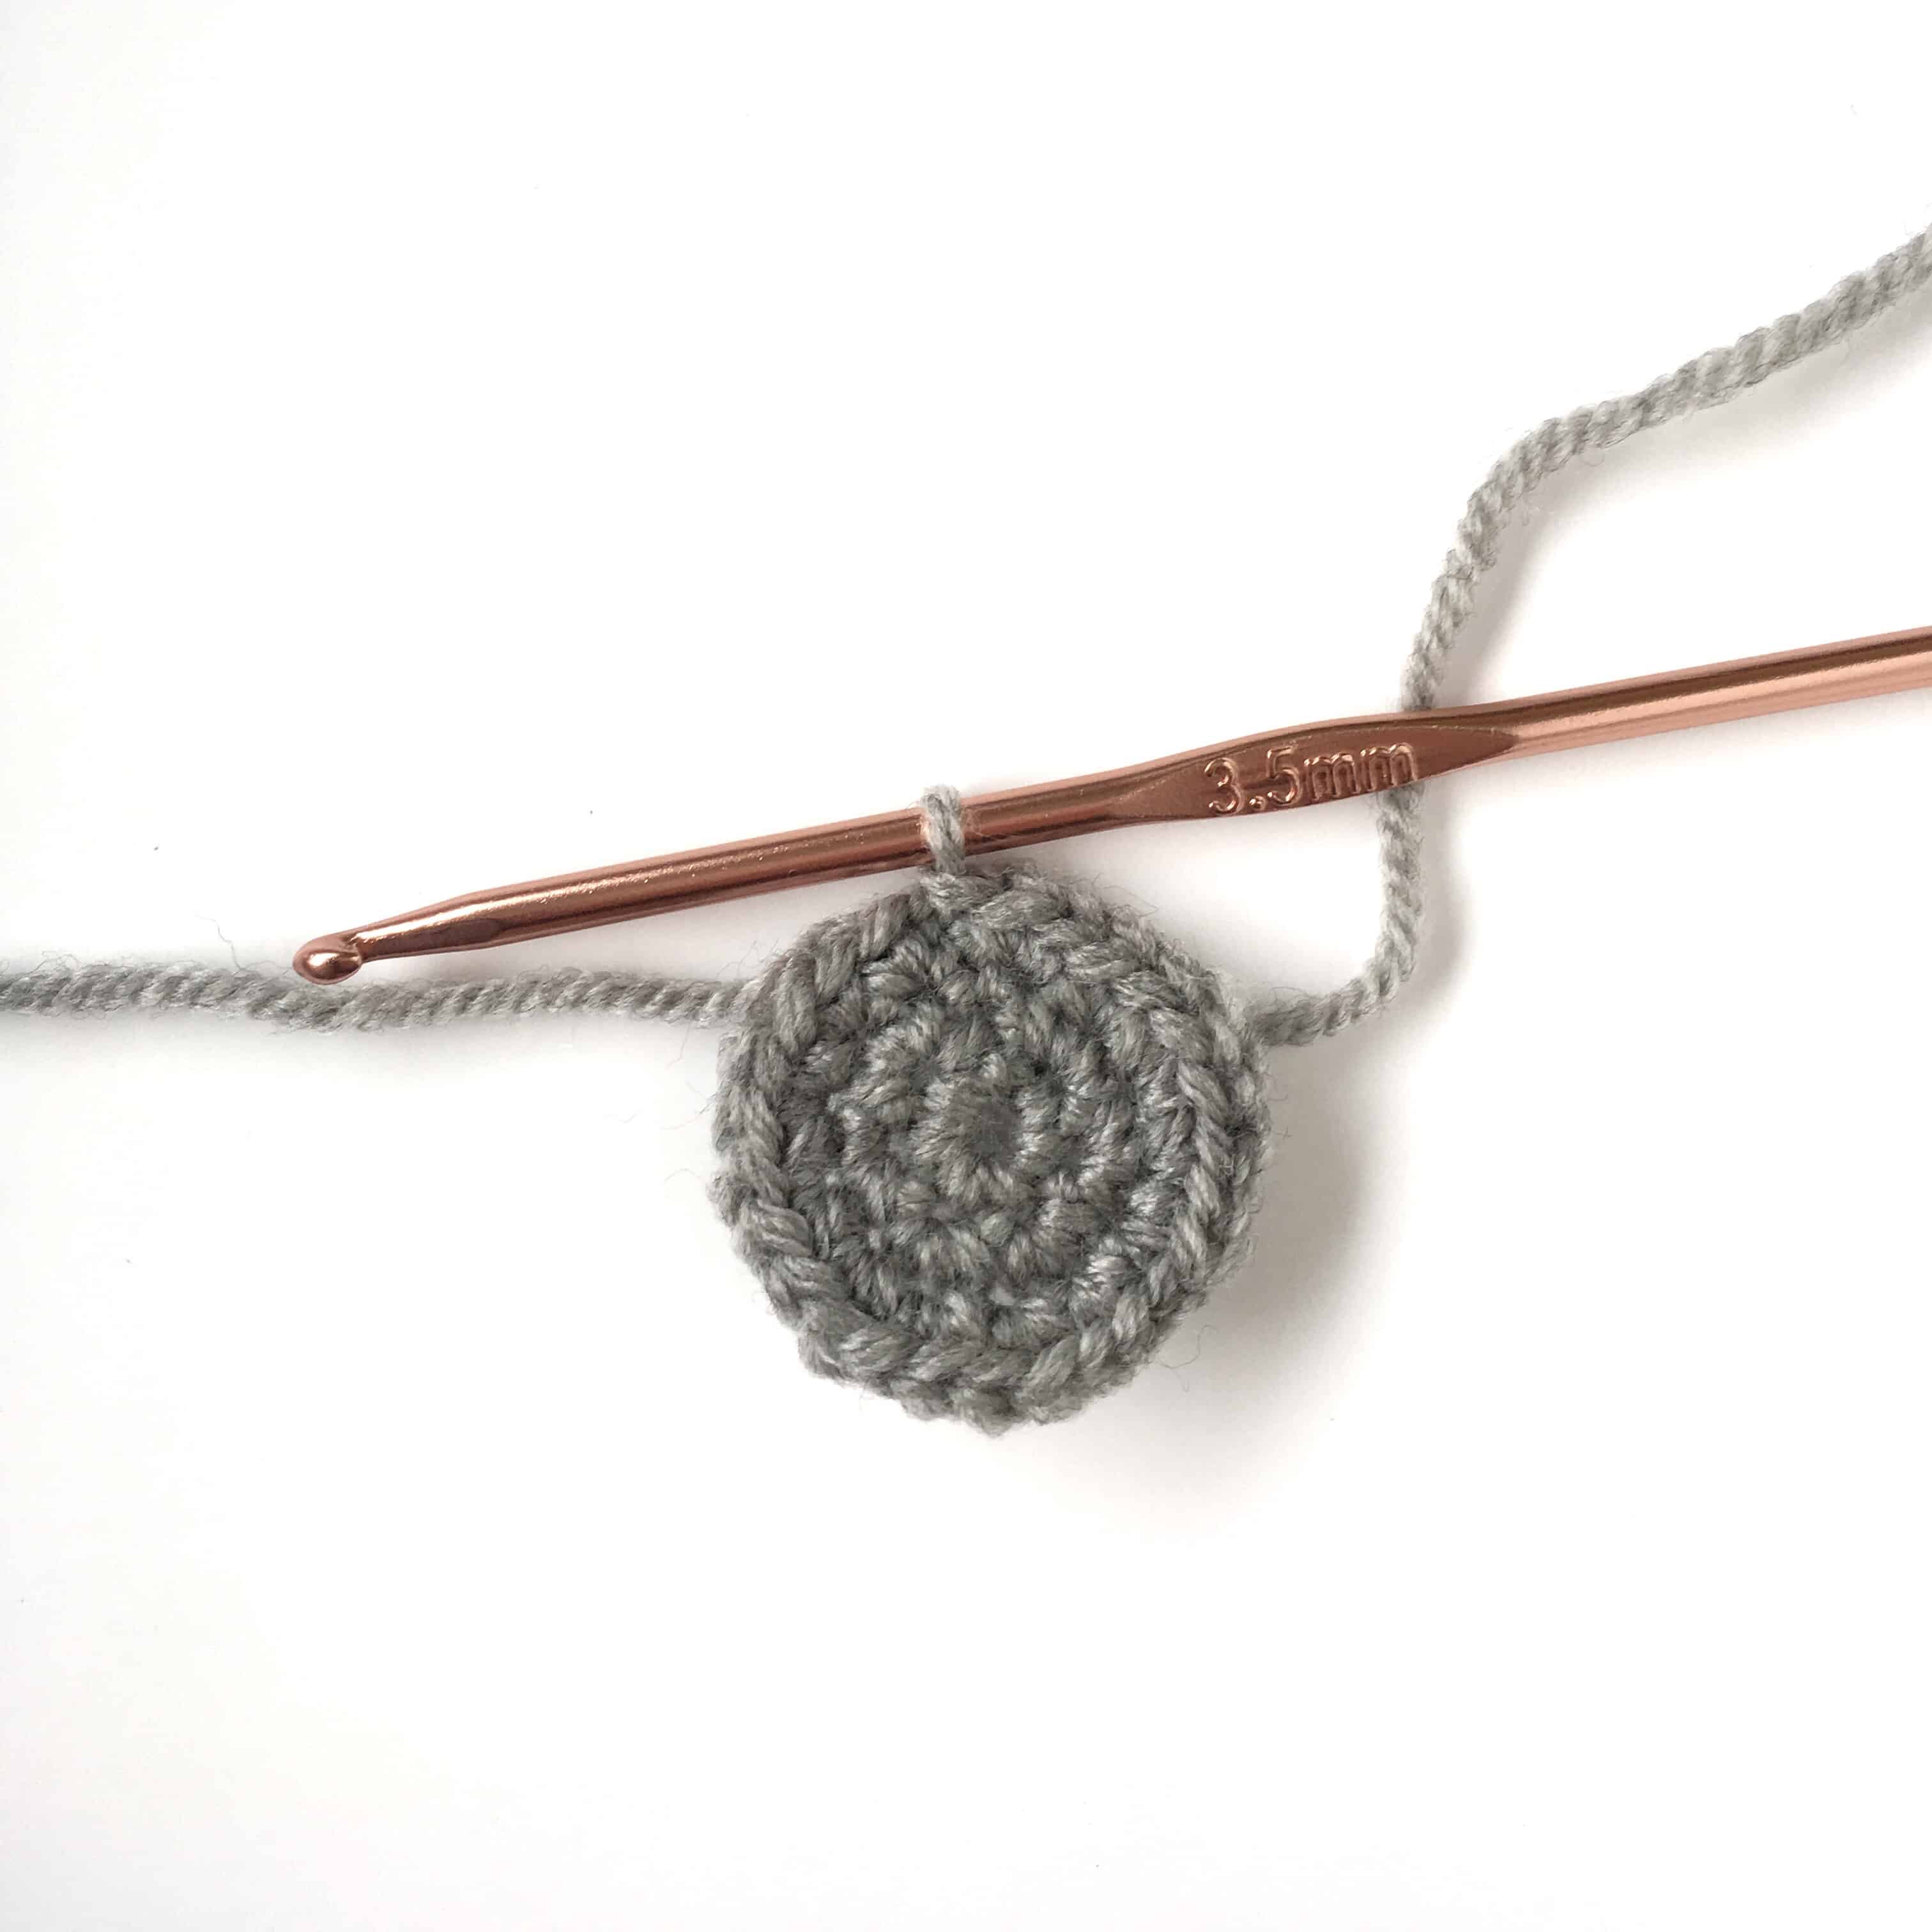
4 – CH2, 1 DC in every stitch (24)

5 – CH4, 1 TC in the next 5 stitches, 1 DC (7)

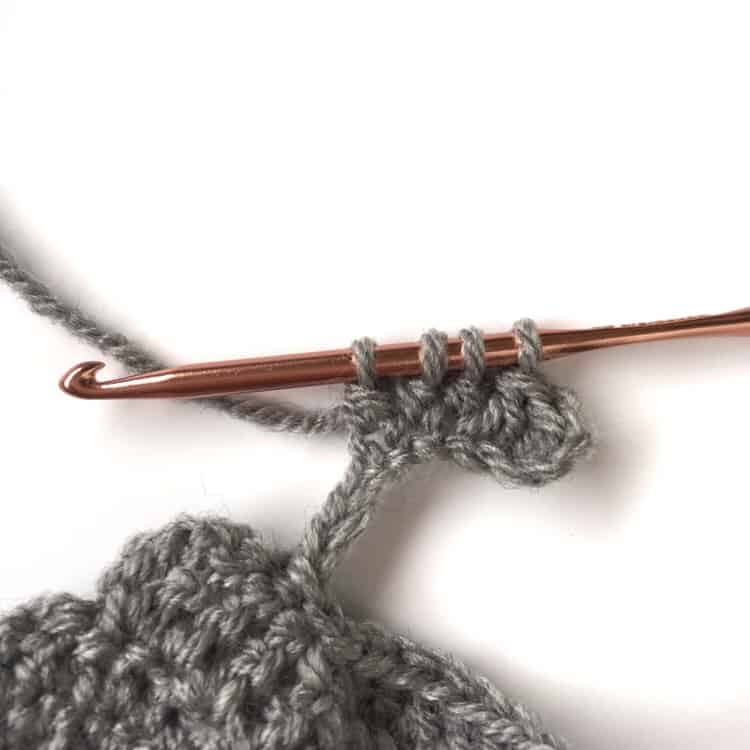
6 – Turn and SS across 1 stitch. CH10, work 1 DC in the 3rd CH from the hook and until the end, SS into the next available stitch (8 DC)
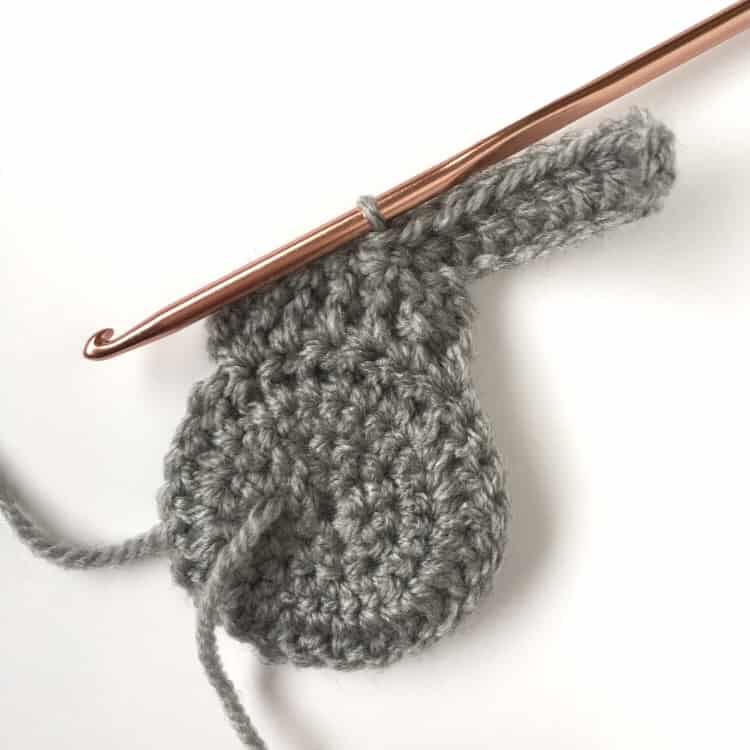
7 – SS across 2 stitches.CH10, work 1 DC in the 3rd CH from the hook and in the next stitch (2 DC). DC the next 3 stitches together (this will form the bend in the ear). DC in the remaining stitches until the end, SS to finish.

Weave in ends to finish.You may wish to stiffen your work with an iron or some starch spray to keep theshape and stop the yarn from curling. Add your pom pom tail.

Finished!
Pin for later to make your own bunny cuteness, or get the ad free PDF versions below.
