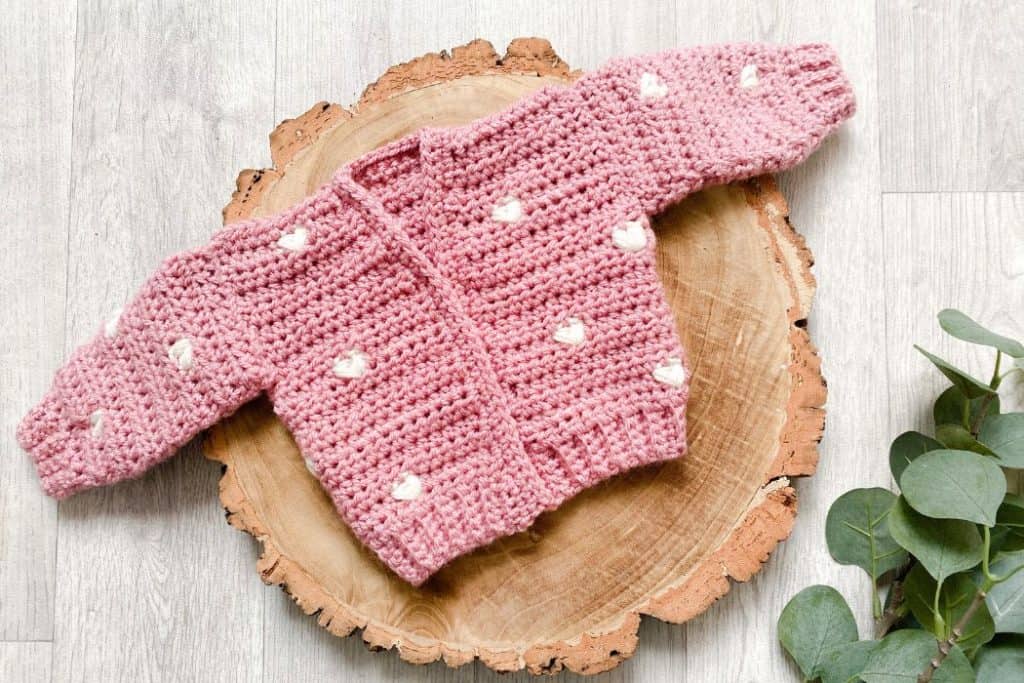
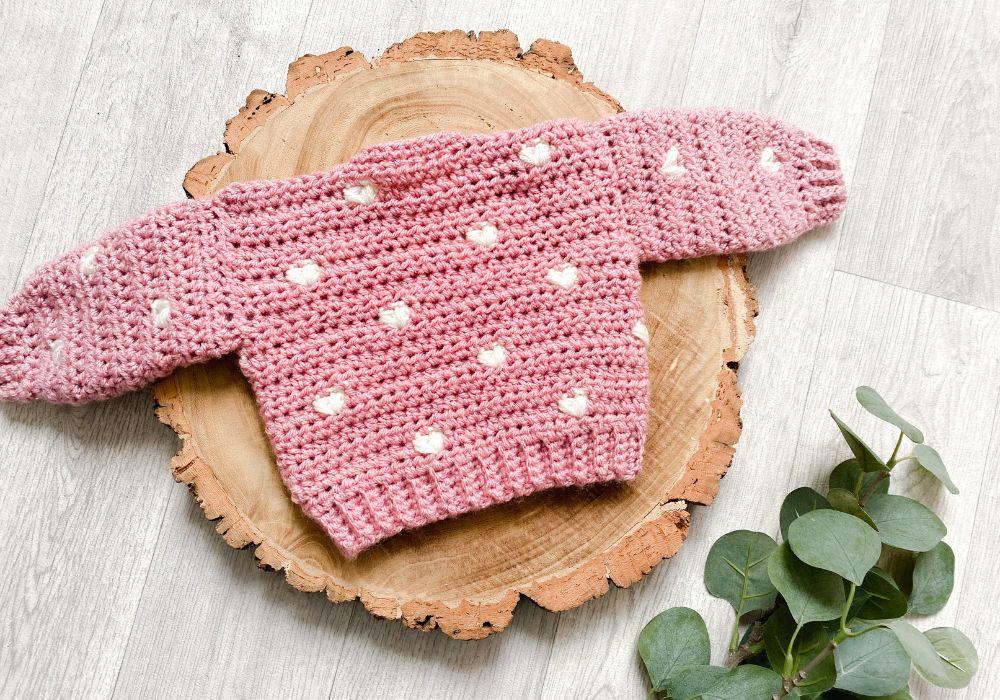
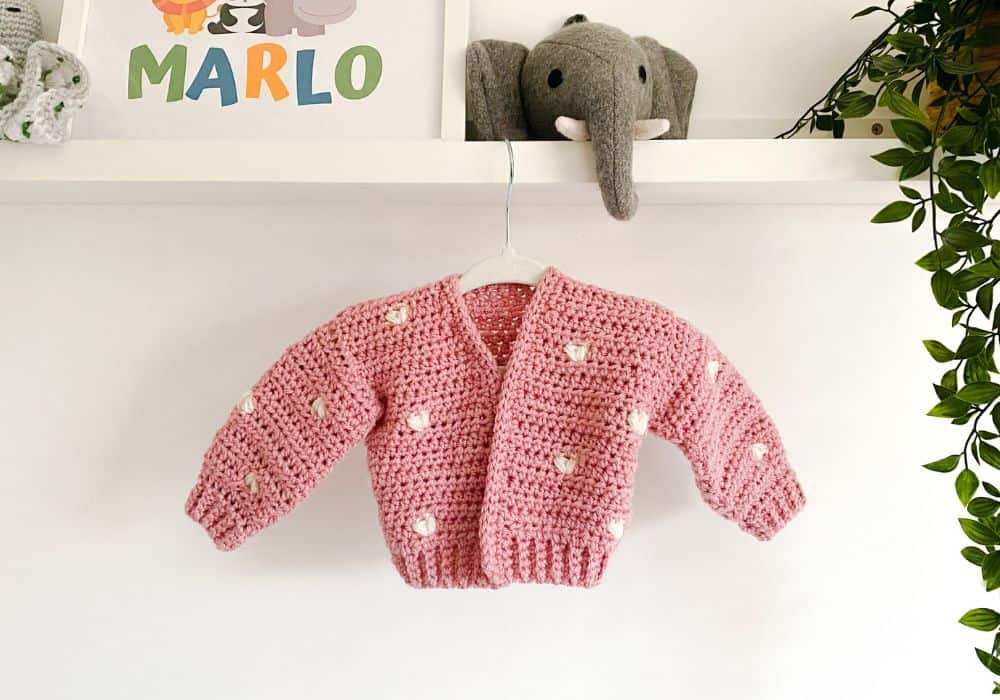
The Sweetheart Cardi is a cute crochet heart cardigan pattern in baby sizes 0-24 months. It’s a quick and simple pattern, with a new stitch to make the hearts using a puff stitch.
This post contains affiliate links, meaning I may make a commission if you purchase through a link, at no additional cost to you.
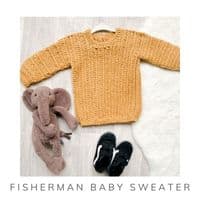
More Baby Crochet Patterns

Get the ad-free PDF in sizes from 0-3 up to 18-24 months from your favourite pattern store below!


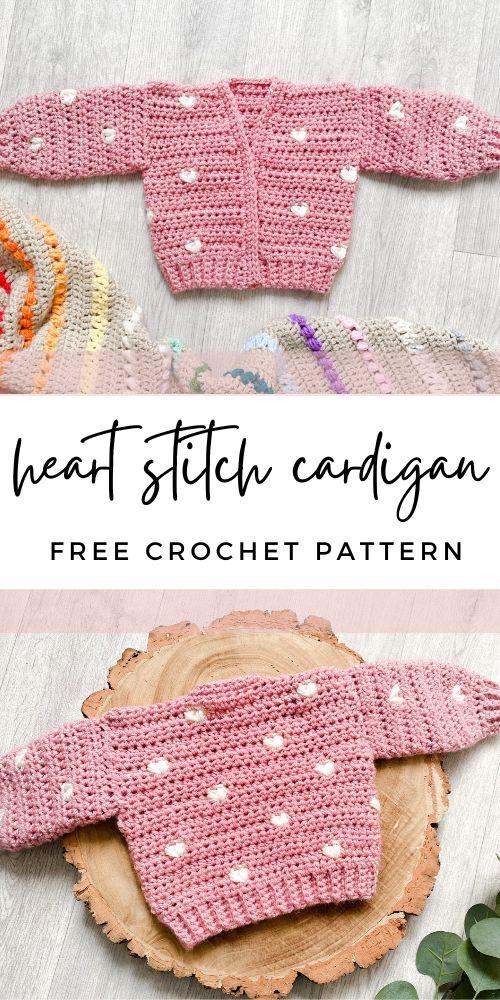
Crochet Heart Cardigan Pattern
You will need
- Aran/worsted acrylic (though DK works well for the heart colour)
- 5.5mm/I hook
- Scissors and needle for finishing
Concentration level
A simpler garment pattern for confident beginners and upwards. The shaping is basic and there are few decreasing rows.
Stitch terms abbreviations
Pattern is written in US terms
Chain – ch
Slip stitch – sl st
Stitch(es) – st(s)
Skip – sk
Half double crochet – hdc
Back loop only – blo
Special stitches
Dec (decrease):
yarn over (yo) pull up a loop from the 1st st, yo pull up from the 2nd st, yo and pull through all loops
Double puff st:
- *yo, pull up* 3x, yo pull through all loops
- ch1
- in the same st, *yo, pull up* 3x, yo pull through all loops
Gauge
In 4×4″: in hdc, 10 rows and 12 sts
Notes
- Pattern is worked flat in rows, with a turn at the end of every row
Starting chs do not count as a stitch except where stated - 3dc, for e.g., means work 3 dc’s in the next st
- dc3, for e.g., means work 1 dc in the next 3 sts
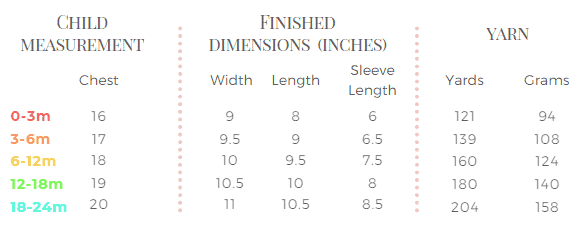
Size guide & yardage
Free Crochet Heart Cardigan Pattern (size 0-3 months)
Back Panel
Ribbing
Row 1: ch6, sc in 2nd ch from hook and to the end, turn (5)
Row 2: ch1, sc in blo to the end (5)
Repeat Row 2 until you have (27) total rows of sc blo.
Turn to work horizontally down the side of your ribbed section.
Body
Row 1: ch2, hdc in the top of each row of ribbing, turn (27) st count doesn’t change from here.
Row 2: ch2, hdc 6, *double puff st, sk1, hdc 10*, repeat * to the end of the row, turn
Rows 3 to 5: ch2, hdc in each st, turn
Row 6: ch2, hdc 12, *double puff st, sk1, hdc 10*, repeat * to the end of the row, turn
Rows 7 to 9: ch2, hdc in each st, turn
Repeat rows 2 to 9 until you have a total of (18) rows for the back panel. Fasten off.
Front Panel – Right hand side
Ribbing
Row 1: ch6, sc in 2nd ch from hook and to the end, turn (5)
Row 2: ch1, sc in blo to the end (5)
Repeat Row 2 until you have (13) total rows of sc blo.
Turn to work horizontally down the side of your ribbed section.
Body
Row 1 (wrong side): ch2, hdc in each st, turn (13)
Row 2 (right side): ch2, hdc (6), double puff st, sk1, hdc to end, turn (13)
Rows 3 to 5: Repeat row 1 (13)
Row 6 : Repeat row 1 (13)
Rows 7 to 9: Repeat row 1 (13)
Row 10: Repeat row 2
Row 11: ch2, dec, hdc in each st, turn (12)
Row 12: Repeat row 1 (12)
Row 13: Repeat row 1 (12)
Row 14: ch2, hdc in each st, dec, turn (11)
Row 15: Repeat row 1 (11)
Row 16: Repeat row 1 (11)
Row 17: ch2, dec, hdc in each st, turn (10)
Row 18: ch2, hdc (6), double puff st, sk1, hdc to end, turn (10). Finish and move to left panel.
Front Panel – Left hand side
Ribbing
Row 1: ch6, sc in 2nd ch from hook and to the end, turn (5)
Row 2: ch1, sc in blo to the end (5)
Repeat Row 2 until you have (13) total rows of sc blo.
Turn to work horizontally down the side of your ribbed section.
Body
Row 1 (wrong side): ch2, hdc in each st, turn (13)
Row 2 (right side): ch2, hdc 10, double puff st, sk1, hdc to end, turn (13)
Rows 3 to 5: Repeat row 1
Row 6: ch2, hdc 4, double puff st, sk1, hdc to end, turn
Rows 7 to 9: Repeat row 1
Row 10: Repeat row 2
Row 11: ch2, hdc in each st, dec, turn (12)
Row 12: Repeat row 1 (12)
Row 13 (all): Repeat row 1 (12)
Row 14: ch2, dec, hdc (1) double puff st, sk1, hdc to end, turn (11)
Row 15: Repeat row 1 (11)
Row 16: Repeat row 1 (11)
Row 17: ch2, hdc in each st, dec, turn (10)
Row 18: ch2. hdc (7) double puff st, sk1, hdc to end, turn (10) finish
Sleeves – make 2
Row 1: ch(25), hdc in 3rd ch from hook and each ch to the end, turn (23)
Row 2: ch2, hdc 6, *double puff st, sk1, hdc 10*, repeat * to the end, turn
Rows 3 to 5: ch2, hdc in each st, turn
Row 6: ch2, hdc 12, *double puff st, sk1, hdc 10*, repeat * to the end, turn
Rows 7 to 9: Repeat rows 3 to 5
Repeat through rows 2 to 9 until you have a total of (11) rows.
For every size for the last 2 rows:
Row 1: ch2. *dec, hdc 3* repeat * to the end, turn
Row 2: ch2, hdc in each st
Finish with a total of (13) rows. Move to cuff.
Cuff
Row 1: ch5, turn, sc in 2nd ch from hook and each ch. sl st into the 1st and 2nd st from the last row of the sleeve, turn (4)
Row 2: sc blo in each st from row 1, turn
Row 3: ch1, sc blo in each st, sl st into the next 2 sts from the last row of the sleeve, turn
Repeat rows 2 and 3 until you complete the round. Join the 1st and last row of the cuff with sl sts or a whip stitch. Move to seaming.
Seaming
Using whip stitches;
- Fold the sleeves in half and join
- Join the front panels to the back at the shoulders
- Using your finished sleeves as a guide (may be helpful to pin them to the body) join the sides of the front and back panels leaving space for the sleeves
Join the sleeve to the body starting from the underarm
Edging
Row 1: Start the sc edging by joining yarn to the front right corner of your work and evenly spacing sc sts into the sides of the hdc rows. Suggest working at a rate of 1 sc in one hdc row and 2 sc in the next, though this may change depending on your gauge.
Row 2: ch1, turn and sc in each sc from the previous row. If using buttons, leave space for the button holes in your preferred place by working ch1, sk1 or ch2, sk2 depending on the size of the holes required.
Row 3: ch1, turn and sl st in each st.
Sew in ends and finish!
Want to make it in other sizes? Get the crochet heart cardigan PDF with sizes up to 2 years below!
Pingback: Sweetheart Baby Cardigan Free Crochet Pattern