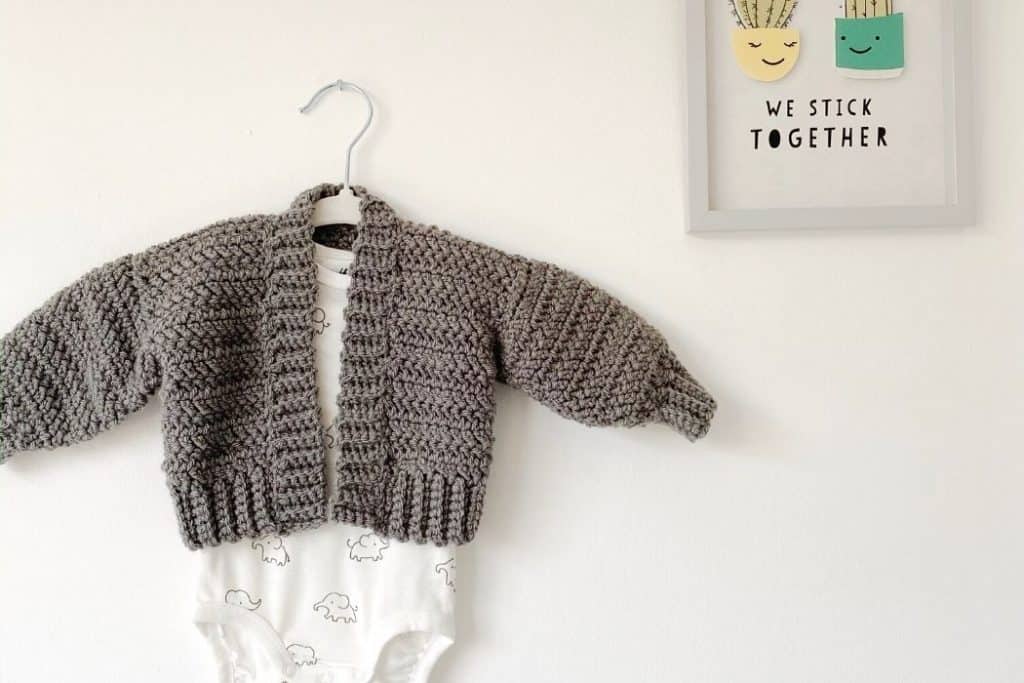
The Baby Bomber crochet pattern is a snuggly baby cardigan, unisex and modern, and it’s a free crochet baby pattern here in size 0-3m! With chunky bomber jacket style sleeves and using herringbone stitch, it’s made in flat panels and there is little increasing or stitch counting. A super quick and easy baby project.
The simple shape and instructions make it an easy crochet cardigan pattern for a baby, even if you’ve never crocheted a garment before. In aran/worsted yarn it’s extra cozy and quick enough to be a last minute baby shower gift.
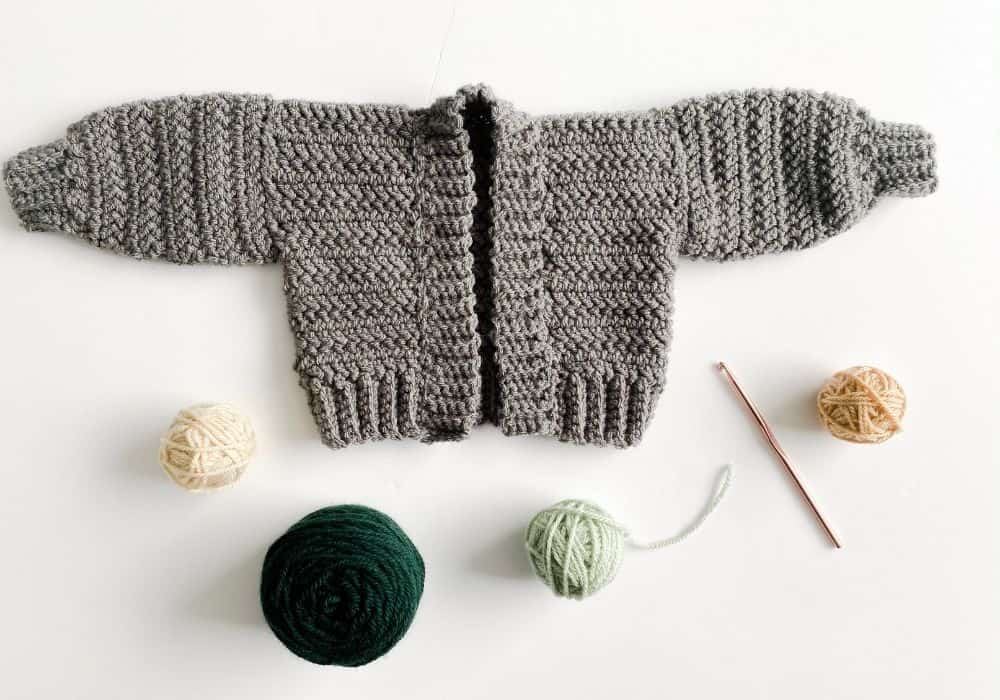
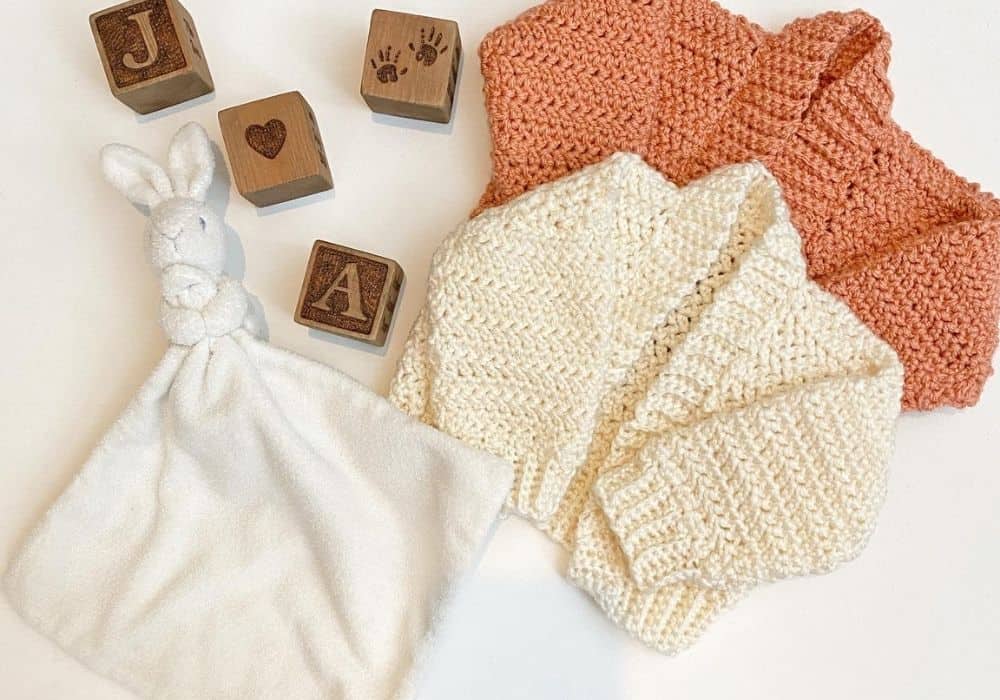
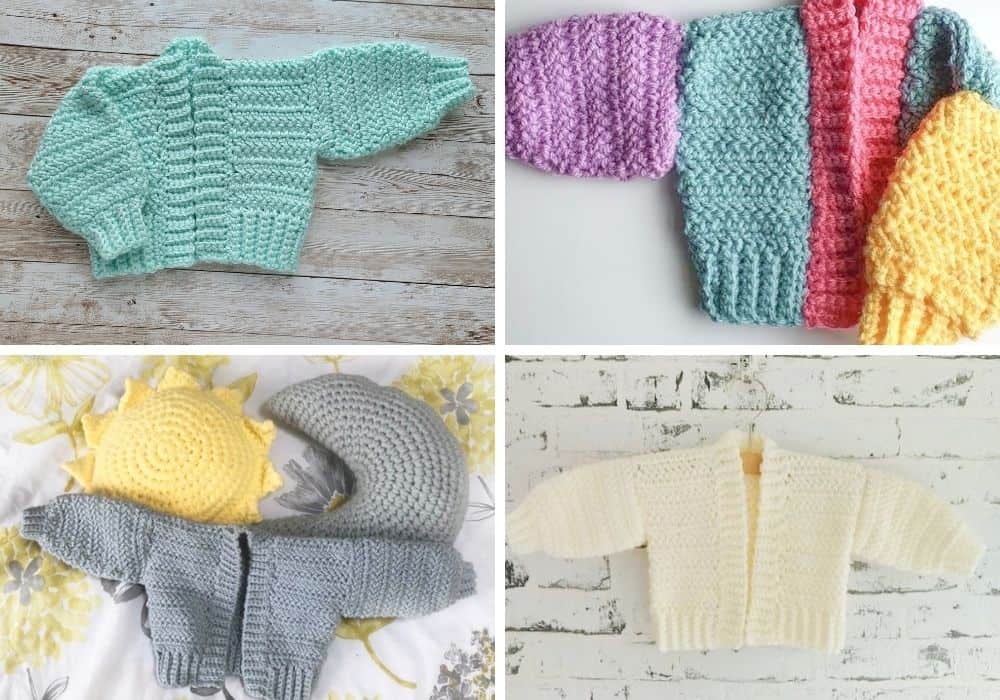
I love this pattern in a solid colour the most, but it’s so cute in tweed yarn, stripes or variegated colours too!
This post contains affiliate links, meaning I may make a commission if you purchase through a link, at no additional cost to you.
More Free Baby Crochet Patterns


You can find all sizes from 0 – 24 months in the ad-free, downloadable PDF from your favourite pattern store below.


Baby Bomber Crochet Pattern
What you’ll need for the baby bomber crochet pattern
- Aran/worsted acrylic (<183g or <363 yds)
- 5.0mm/H hook
- Scissors and needle for finishing
Suggested yarns used by myself and testers:
Paintbox Simply Aran
Caron Simply Soft
Stylecraft Special Aran
Concentration Level
A quick project for confident beginners and upwards.
Stitch Terms & Abbreviations
Pattern is in US terms
Chain – ch
Slip Stitch – sl st
Stitch(es) – st(s)
Skip – sk
Single Crochet – sc
Back Loop Only – blo
Decrease – dec
Special Stitches
Herringbone dc
- Yarn over, pull up a loop (3 on hook)
- Pull the first loop on your hook through the second (2 on hook)
- YO, pull through the first loop (2 on hook)
- YO and pull through both loops
Decrease
Work a standard dc2tog instead of herringbone.
Sl st 2 tog
- Place your hook under the front loop of the next 2 sts, so that your hook is under 2 loops at once
- Yarn over and pull up a loop (2 loops on hook)
- Pull the 1st loop through the 2nd loop
Gauge
In 4×4″: 8 rows of 12 herringbone dc
Notes
- Stitch counts will be in brackets at the end of each row (colour coded in the PDF version)
- Starting chs do not count as a stitch
- Pattern is worked flat in rows, with a turn at the end of every row
- Each row of the sleeves also finishes with a turn to maintain the striped texture
- You may want to size down your hook by 1.0mm when working on the edging and cuffs
Size Guide
Size – Child chest measurement in ” – yarn amount in yards
0-3m – 16 – 213
3-6m – 17 – 259
6-12m – 18 – 298
12-18m – 19 – 336
18-24m – 20 – 368
Baby Bomber Crochet Pattern
Back Panel
Ribbing
Row 1: ch8, sc in 2nd ch from hook and to the end, turn (7)
Row 2: ch1, sc in blo to the end (7)
Repeat Row 2 until you have (27) total rows of ribbed sc.
Turn to work horizontally down the side of your ribbed section.
Body
Row 1: ch2, work a herringbone st in the top of each row of ribbing, turn (27)
Row 2: ch2, work a herringbone st in each st across (27)
Repeat Row 2 until you have (13) total rows.
Finish yarn and move on to the front panels.
Front Panel x2
Ribbing
Row 1: ch8, sc in 2nd ch from hook and to the end, turn (7)
Row 2: ch1, sc in blo to the end (7)
Repeat Row 2 until you have (10) total rows of ribbed sc.
Body
Row 1: ch2, work a herringbone st in the top of each row of ribbing, turn (10)
Row 2: ch2, work a herringbone st in each st across (10)
Repeat Row 2 until you have (13) total rows.
Finish yarn, leaving a tail to join the shoulder to the back panel later. Repeat steps for the 2nd front panel.
Sleeves x2
The steps below will make the sleeves in joined rows, though you can make them flat and seam at the end if you prefer. Just leave out the sl st on each row.
Row 1: ch (28), work a herringbone st in the 3rd ch from the hook and to the end, sl st into the first herringbone st, turn (26)
Row 2: ch2, dec, herringbone st in each remaining st, sl st, turn (25)
Row 3: ch2, herringbone st in each st, sl st, turn (25)
Repeat Rows 2 and 3 until you have (9) rows in total, finishing on a st count of (22)
Cuff
The ribbed cuff will be worked vertically, working around the last row of the sleeve with sl sts into the herringbone sts.
Row 1: ch7, sc in the 2nd ch from hook and every ch back towards the sleeve, sl st into the next herringbone st along (6)
Row 2: sl st 2 tog over the next 2 herringbone sts along, turn, sc in blo of each sc to the end, turn (6)
Row 3: ch1, sc in blo of each sc to the end, sl st into the next herringbone st along (6)
Repeat Rows 2 and 3 until you have (15) ribbed sc rows in total.
Seaming
Using whip stitches;
- Join the front panels to the back at the shoulders
- Using your finished sleeves as a guide (may be helpful to pin them to the body) join the sides of the front and back panels leaving space for the sleeves
- Join the sleeve to the body starting from the underarm
Edging
You can make the ribbed edging by joining yarn to the front corner of your work and evenly spacing rows of ribbed sc (like the start of the front and back panels) by slip stitching horizontally into the body with each row. Or, make a length of ribbed sc and sew onto the body afterwards as below.
Row 1: Ch6, turn, sc in the 2nd ch from hook and every ch until the end, turn (5)
Row 2: ch1, sc in the back loop of each st to the end, turn (5)
Repeat Row 2 for approximately (72) rows of ribbed sc, or until you have a length that will comfortably join around the front of your work.
Pin the ribbing to your work to evenly space and sew to the body.
Want to make the other sizes? Find all sizes from 0 to 24 months in the ad-free PDF below.
