
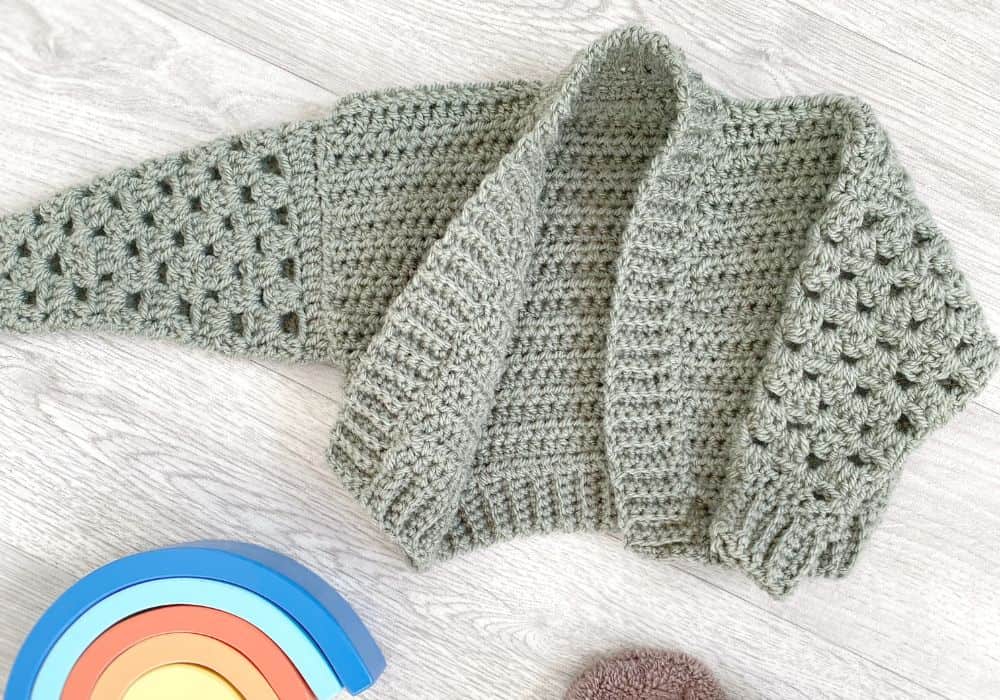
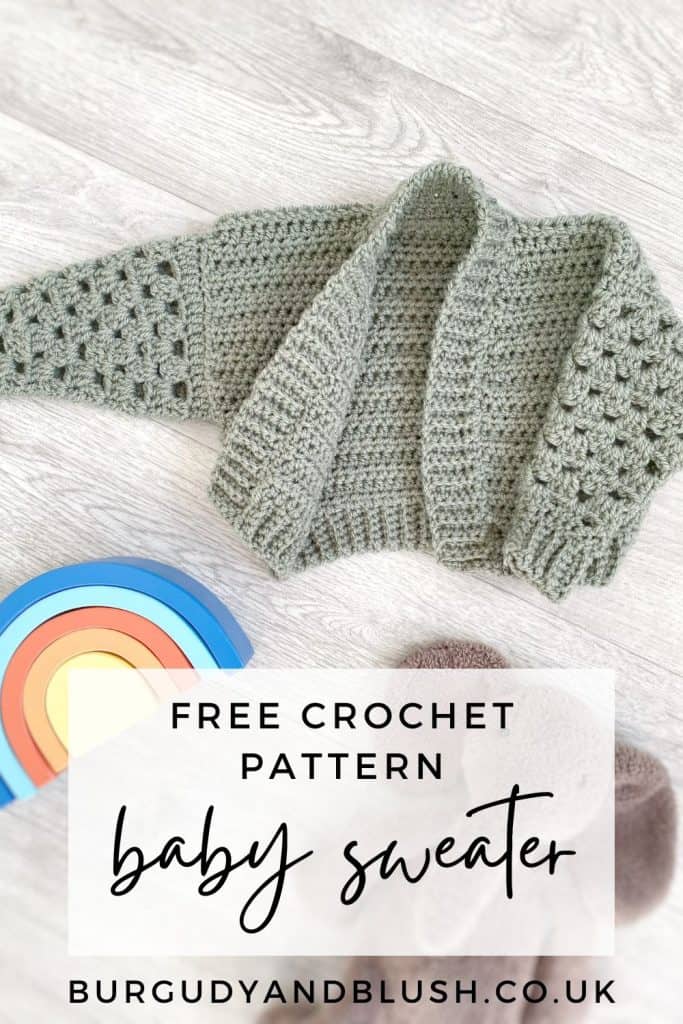
The Granny Stripe Sleeve Cardigan is a cute project for babies and kids with all the spring vibes!
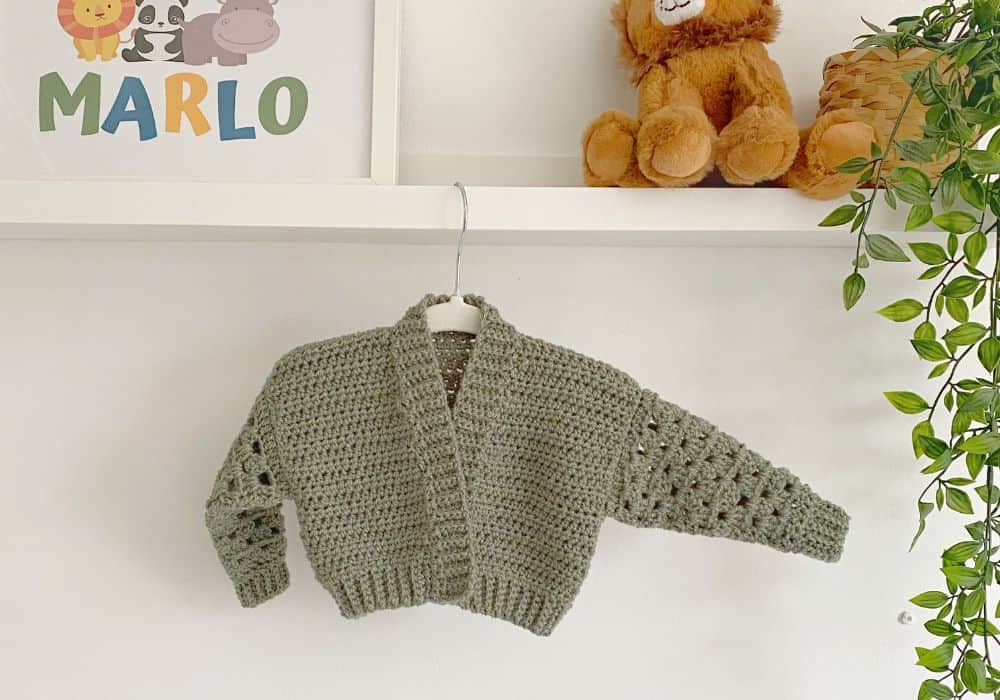
In DK yarn it’s light and comfy, but the simple stitches mean it works up fast. I’ve used Paintbox Simply DK in pine, but your favourite DK acrylic will be just fine. The construction is simple made in flat panels, with little increasing or stitch counting, perfect for a beginner to garments.
The full PDF is for sizes from 0-3 months up to 12-14 years, you’ll find the free crochet pattern in size 0-3 months here.
This post contains affiliate links, meaning I may make a commission if you purchase through a link, at no additional cost to you.
More Free Crochet Patterns


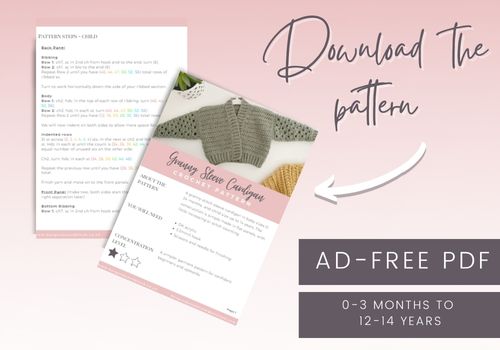
The PDF with all 11 sizes is available from your favourite pattern store below.


Granny Stripe Sleeve Cardigan
You will need
- DK acrylic
- 5.5mm/I hook
- Scissors and needle for finishing
Concentration level
A simpler garment pattern for confident beginners and upwards.
Gauge
In 4×4″: 13 rows of 14 hdc
Stitch terms & abbreviations
Pattern is written in US terms
Chain – ch
Slip Stitch – sl st
Stitch(es) – st(s)
Skip – sk
Single Crochet – sc
Half Double Crochet – hdc
Double Crochet – dc
Decrease – dec
Back Loop Only – blo
Special Stitches
Decrease (dec)
Work a standard hdc2tog
Granny decrease
- sk2, dc
- start a dc in the same st (like when working a dc2tog st)
- sk2, start another dc (again like a dc2tog st)
- yarn over, pull through all loops
- dc in the 2nd st
Notes
- Pattern is split into two, written for baby sizes and child sizes separately
- Stitch counts will be in brackets at the end of each row
- Starting chs do not count as a stitch except where stated
- Pattern is worked flat in rows, with a turn at the end of every row
- 3dc, for e.g., means work 3 dc’s in the next st
- dc3, for e.g., means work 1 dc in the next 3 sts
Granny Stripe Sleeve Cardigan Pattern – Baby
Back Panel
Ribbing
Row 1: ch7, sc in 2nd ch from hook and to the end, turn (6)
Row 2: ch1, sc in blo to the end (6)
Repeat Row 2 (31) total rows of ribbed sc.
Turn to work horizontally down the side of your ribbed section.
Body
Row 1: ch2, hdc in the top of each row of ribbing, turn (31)
Row 2: ch2, hdc in each st, turn (31)
Repeat Row 2 until you have (21) total rows.
Finish yarn and move on to the front panels.
Front Panel (make two, both sides start the same way with left and right separation later)
Bottom Ribbing
Row 1: ch7, sc in 2nd ch from hook and to the end (6)
Row 2: ch1, turn, sc in the back loop of each st (6) Try working the last sc in both loops as this can be neater for some.
Repeat Row 2 until you have (12) rows.
Body
Row 1: Now working horizontally across the top of ribbing, ch2, hdc in the top of each ribbing row from the previous step (12)
Row 2: ch2, turn, hdc in each st (12)
Repeat Row 2 until you have (13) rows
The front now splits into left and right and row counts start again.
Left Hand Side (front side facing up)
Row 1: ch2, dec, hdc in each remaining st, turn (11)
Rows 2 to 3: ch2, hdc in each st, turn (11)
Row 4: ch2, hdc in each st, dec over the last 2 sts, turn (10)
Rows 5 to 6: ch2, hdc in each st, turn (10)
Repeat rows 1 to 6 until you have (21) rows in total and a stitch count of (9). Finish yarn.
Right Hand Side (front side facing up)
Row 1: ch2, hdc in each st, dec over the last 2 sts, turn (11)
Rows 2 to 3: ch2, hdc in each st, turn (11)
Row 4: ch2, dec, hdc in each remaining st, turn (10)
Rows 5 to 6: ch2, hdc in each st, turn (10)
Repeat rows 1 to 6 until you have (21) rows in total and a stitch count of (9). Finish yarn.
Sleeves x2
The steps below will make the sleeves flat to be seamed and joined on to the body at the end.
Row 1: ch29, sc in the 2nd ch from the hook and to the end, turn (28)
Row 2: ch3 (counts as a stitch), dc in the same st, sk2, work a granny decrease (referenced in special stitch section), *sk2, 3dc* repeat * until there are 9 sts left, sk2, granny decrease, sk2, dc in last st, turn (21)
Rows 3 to 5: ch3, dc in the same st, work 3dc in the spaces between each group of 2dc/3dc from the previous row, dc in the last st, turn (21)
Row 6: ch3, dc in the same st, 3dc in the next sp, granny decrease, 3dc in each remaining sp, dc in last st, turn (18)
Rows 7 to 9: Repeat Row 3 (18)
Row 10: ch3, dc in the same st, 3dc in each sp until you have 3 clusters left, granny decrease, 3dc in the last remaining sp, dc in last st, turn (15)
Repeat Rows 3 to 10 until you have (15) rows in total, finishing on a st count of (12)
Cuff
Turn to work the cuff in rows vertically, chaining away from the sleeve and working sc back towards it.
Row 1: ch7, sc in 2nd ch and in next 5, sl st into the next 2 sts of the last row of the sleeve (6)
Row 2: sc blo in each st, turn (6)
Row 3: ch1, sc blo in each st, sl st into the next 2 sts of the sleeve, turn (6)
Repeat Rows 2 and 3 until you reach the end of the row, finishing with an even number of rows.
OR
Work a length of 6 sc blo to fit around the end of the sleeve and sew on at the end. Aim for (13, 16, 16, 19, 19) rows.
Fold the sleeve panel in half and join the 2 sides, with either a series of sl sts or sew with a whip stitch.
Seaming
Using whip stitches;
- Join the front panels to the back at the shoulders
- Using your finished sleeves as a guide (may be helpful to pin them to the body) join the sides of the front and back panels leaving space for the sleeves
- Join the sleeve to the body starting from the underarm, you should find that each st from the sleeve lines up with each hdc row on the body
Edging
You can make the ribbed edging by joining yarn to the front corner of your work and evenly spacing rows of ribbed sc (like the start of the front and back panels) by slip stitching horizontally into the body with each row. Or, make a length of ribbed sc and sew onto the body afterwards as below.
Work rows of ribbed sc until you have a length that will comfortably join around the front of your work.
Pin the ribbing to your work to evenly space and sew to the body.
Sew in ends and finish!
Want to make the granny stripe sleeve cardigan in more sizes? Get the PDF from a pattern store below!